How it works
A drawing or a photo → a clean stencil, true to size, in 30 seconds. Everything you need to know fits on this page — and the Studio's guided tour walks you through it on a sample drawing.
- 01
Drop in your drawing or photo
JPG, PNG or WebP, 20 MB max (an iPhone HEIC photo also works in Safari; in other browsers, save it as a JPG first). No file to hand? Click one of the sample drawings under the drop zone. The app recognises a design (flash, digital drawing, painting, photographed pencil sketch) or a photo of a real subject, and suggests the best-suited styles first.
- 02
Pick the stencil style
Liner: instant, calculated at actual size, unlimited and never counted — lines true to the drawing, black fills and shading outlined. Pro: the AI redraws it in 4K, engraving style, and it counts as one HD stencil.
- 03
Adjust, generate, retouch
Enter the actual width, set the lines and tones, then generate: the Liner is ready in a few seconds. In the editor: eraser, brush, lighten, darken, remove a black fill — with the shield that protects your lines.
- 04
Print or apply
True-to-size PDF (print at 100% and check it against the 10 cm ruler), PNG, or Tattoo Mode on the iPad at your station. Mirror, ink colour and “thermal printer” mode in one click.
Two styles: Liner and Pro
Depending on the image and how you work. You can make both from the same image and keep the one that suits you.
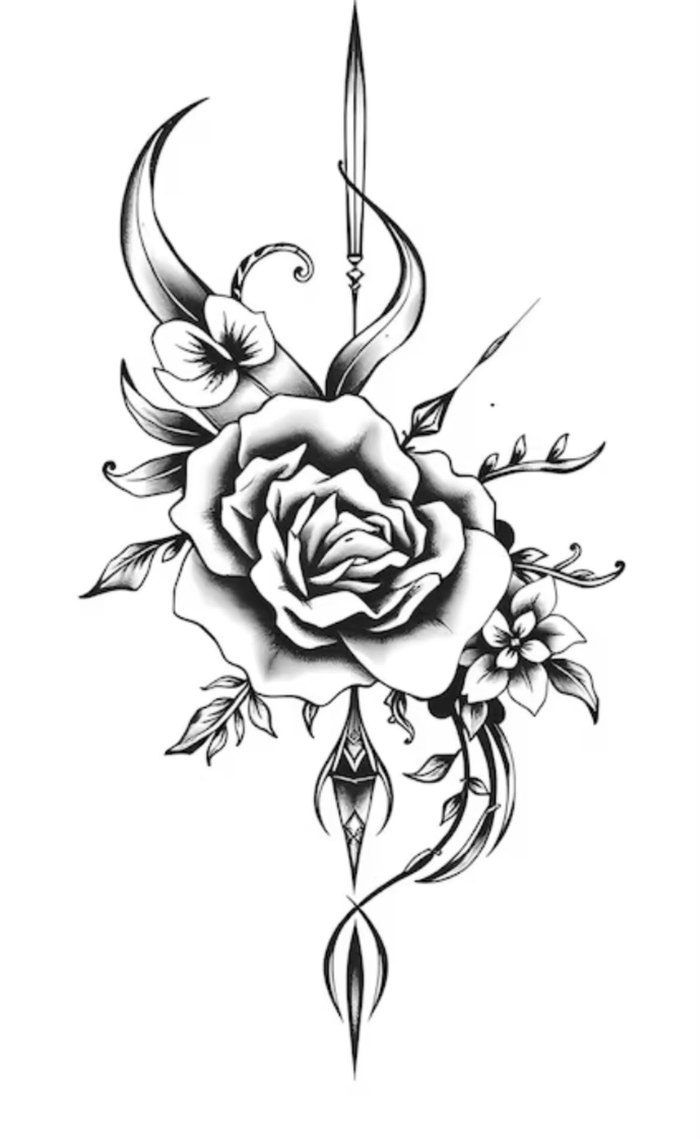
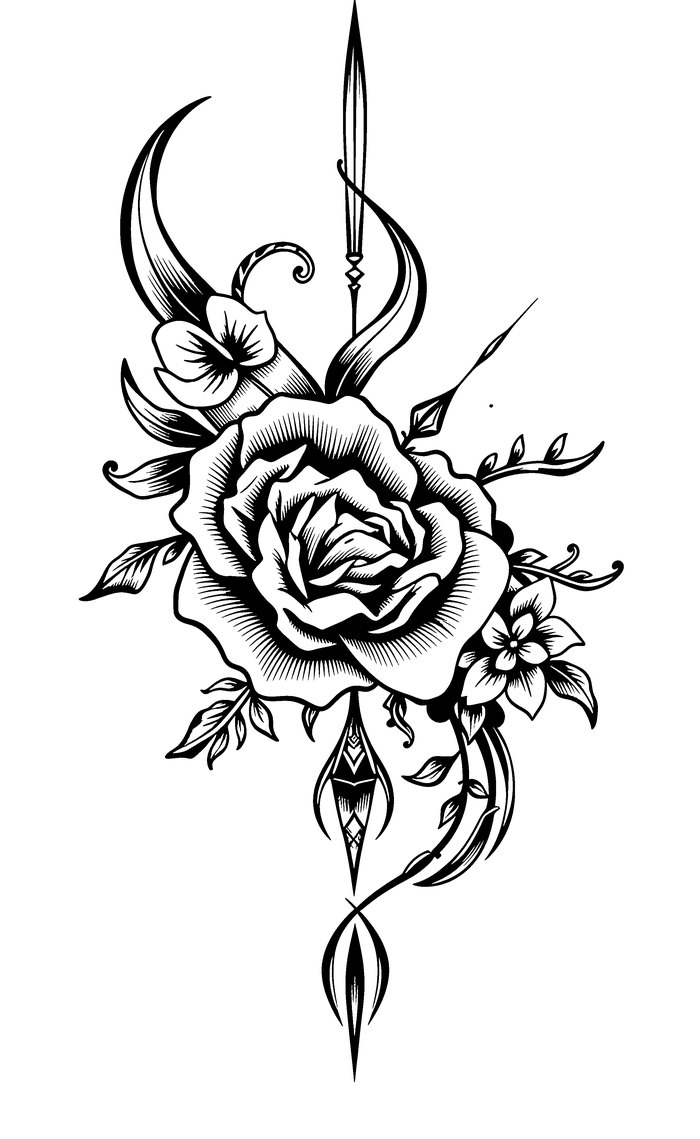
Liner — instant, to scale
Our own engine: the drawing's lines kept faithfully, plus the outline of black fills and shading. It is calculated for the actual width you enter (lines are in millimetres). Unlimited and never counted, during your free days and with a subscription.
AI Liner — optional
Under the Liner, the “Liner with AI” button has Pro's AI redraw the liner, lines only. Counts as one HD stencil.
Pro — 4K AI, engraving style
The AI redraws every outline and shadow in hatching or dots (your choice in My style). About a minute. Counts as one HD stencil: 3 free once to try it, then included in the subscription (monthly fair use).
Backup stencil
A fidelity check compares every AI stencil with your drawing. If the AI changes your drawing too much (a shape invented or left out), or if it isn't responding, you get a backup stencil instead: computed without AI, true to the line, and never counted.
Design or photo?
The app looks at the edge of the image: a light, flat page = design; a busy background = photo. For the AI, you can force the type: a photo is handled by its tones, a design (flash, logo, colour drawing) by its lines.
Reading a stencil
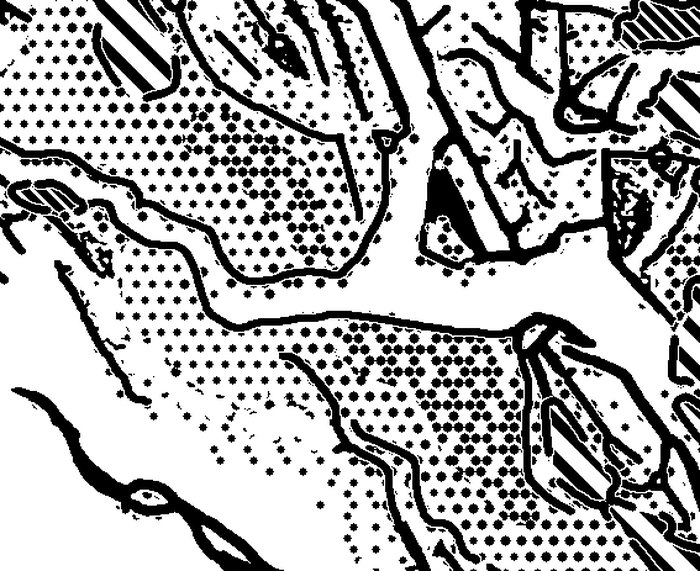
The Liner draws lines only: those of the drawing, plus the outline of black fills and shading, which you fill and shade freehand. The backup stencil uses these marks once it's on the skin:
- Solid line — a line from the drawing: tattoo it as is. The ink lines of a design are kept exactly as drawn, thicks and thins included.
- Dashed outline + hatching — a solid black area: pack it solid. The hatching is a marker, not a pattern to tattoo.
- Increasingly sparse dots — shadows and gradients: the tighter the dots, the darker the area. The gradient stops where the drawing turns white.
- Regular grid of dots — a very dark area (smoke, deep shadow): dense shading, with dot size following the value.
My style: tune the engine to your hand
In Settings → My style, once and for all; in the Studio, for a single stencil.
Lines
Fine, medium or bold: once printed, the Liner outline is about 0.12, 0.16 or 0.22 mm. The ink lines of a design stay as drawn; the setting affects the outlines the engine adds.
Tones (Liner)
Few, normal or many: how many shading boundaries the Liner outlines inside the drawing. “Many” also outlines light tones and soft gradients.
Pro shading
In dots or hatched: how Pro's AI renders the shadows.
Retouching
The editor works on the stencil at full resolution. Your retouching is saved separately: the original stencil stays intact.
Tools
Eraser (E), brush (B), lighten (L: removes dots), darken (D: adds dots matching the stencil's dot size), remove a black fill (F), pan (space). Ctrl+Z / Ctrl+Shift+Z to undo and redo, [ and ] for brush size.
Line shield
When it's on, the eraser and “lighten” only touch the dots: your lines are protected. Turn it off to erase a line.
Stabiliser
Smooths your stroke with a finger or a stylus (handy on iPad). The line is completed up to where you lift your finger.
Tracing
The original photo can show through under the stencil, in exactly the same frame, to check or complete a line.
Printing and applying
True-to-size PDF
Choose the actual width and the paper (A4, A3, Letter). Print at 100%, with “fit to page” turned off: the 10 cm ruler at the bottom of every page lets you check. Mirror in one click if you work with a reversed stencil.
Large format
A piece bigger than the sheet is split across several sheets (A1, B1, A2…) with 1 cm of overlap. The first page is an assembly guide; the grey bands and + marks in the margins show where to overlap and tape.
Sheet of stencils
Several small stencils? In “My stencils”, tick “Sheet” on each one, set their widths and print: they are laid out automatically on one or more sheets, each at actual size, with a dotted cut line.
Thermal printer
Tick “Thermal printer”: lines and dots that are too thin (under 0.15 mm) are thickened to 0.2 mm so they come out cleanly on thermal paper, without the hatching merging.
Ink colour and PNG
Six colours or a custom colour for the PDF, the PNG and Tattoo Mode; the saved stencil stays black. The PNG can keep a transparent background.
Tattoo Mode
The stencil full screen on the iPad, right at your station: switch between stencil, photo and overlay one-handed, brightness and contrast remembered, pinch to zoom, double-tap to reframe. The screen doesn't go to sleep while it's open.
Frequently asked questions
Liner or Pro?
The Liner follows your drawing line for line, in a few seconds, with nothing counted: ideal when you pack and shade freehand. Pro redraws everything, shading included, engraving style: a complete stencil, counted as one HD stencil.
My liner is too busy / not busy enough
That's a setting, not a fault: Tones set to “few” outlines fewer shading boundaries, “many” outlines more; Lines changes the thickness. Generate again: the Liner is unlimited and never counted.
Lettering or fine lines come out broken up
The ink lines of a design are kept exactly as drawn. A screenshot with a transparency checkerboard behind the drawing gives a less precise result: export the design as a PNG on a white background.
Pro invented something
AI results can vary. The app makes a second attempt if the first one looks off and keeps the more faithful one; if the AI still changes your drawing too much, you get the backup stencil, true to the line, with nothing counted. Generate again if needed, or compare with the Liner, which is always true to the drawing.
My generation failed — does it count?
No: only successful generations count towards fair use, and a backup stencil never counts. Try again; if the engine is restarting, wait a minute.
Where do I find my stencils?
In “My stencils”: every stencil, with its retouched version and its original photo. “Open in the Studio” reopens it with its settings so you can generate it in another style.
What about my images?
Stored in Europe (every image you upload goes, reduced in size, to Replicate in the United States for a content check, and AI stencils are computed there; Replicate deletes this data after one hour — details in the privacy policy), never used to train a model. Each stencil can be deleted from “My stencils” (its original photo is deleted with it), and the whole account in one click in Settings → Data. The stencils are yours, commercial use included.
Can I install it on the iPad?
Yes, like an app: in Safari, Share → “Add to Home Screen”. It opens full screen, without an address bar, straight into the Studio. To sign in from the installed app, type the code you received by email (the link would open Safari). On Android or Chrome: menu → “Install app”.
Wi-Fi drops out at your station?
Every stencil opened in Tattoo Mode is kept on the tablet (the last ten). With no connection, the app opens straight to the “Tattoo Mode, offline” page (/tattoo) with those stencils, settings included. The original photo is kept too, if it could be copied.
How much does a generation cost?
The first 7 days are free, with no card: Liner, retouching, PDF and Tattoo Mode, plus 3 free HD or Pro stencils to try the AI (the AI Liner counts as one HD stencil). After those 7 days, your stencils stay viewable and printable, and making new stencils requires a subscription. With a subscription, the Liner is unlimited, and Pro and HD AI are included with a fair use of 300 a month on Solo (1,500 on Studio); beyond that it keeps working, just more slowly.
Need help?
The “?” button at the bottom right opens the assistant: it knows the app and answers right away. For anything else: contact@stenciliner.com.